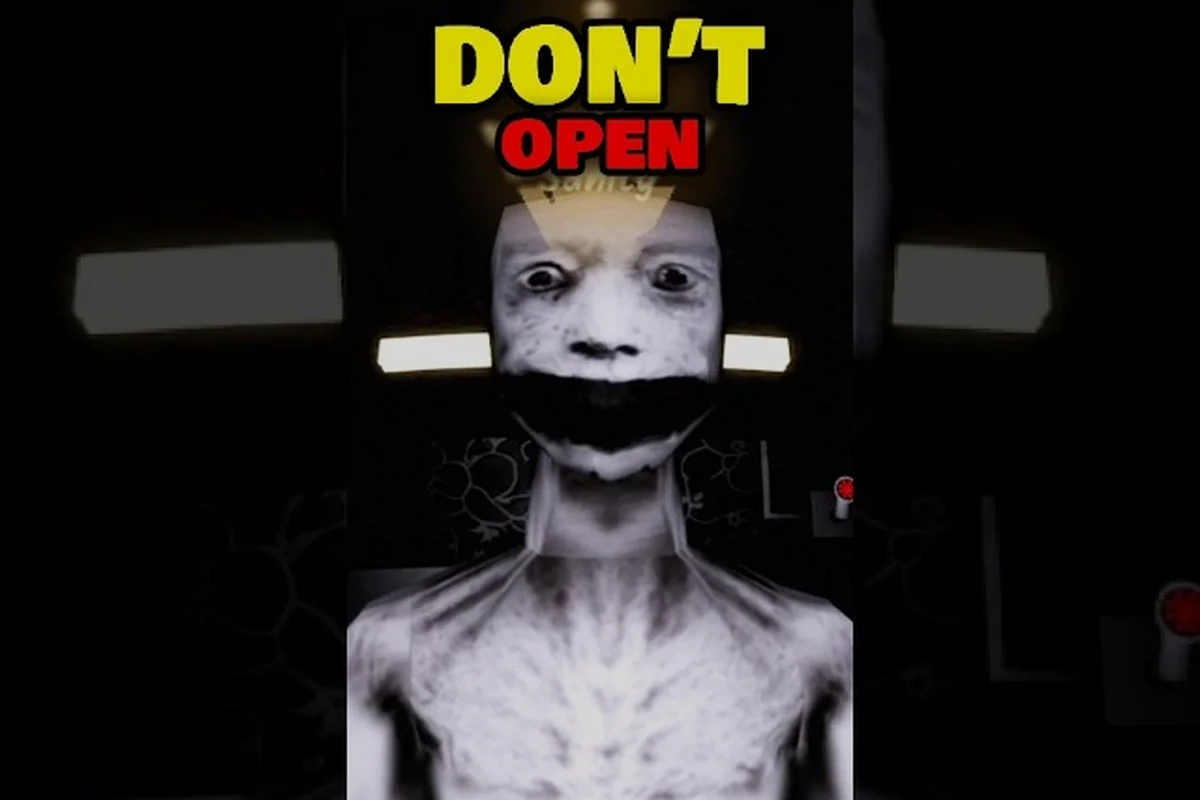
The Keep the Door Locked camera controls are the difference between spotting an anomaly before it reaches your door and becoming another missing guest in this Roblox horror hit. With over 4.3 million visits since its May 2026 launch, this game from developer KivC (Hotel Room Services) puts you alone in a hotel room after midnight where strangers knock and some are lying. Your security camera system is your only reliable witness, so mastering every button and toggle matters more than raw reaction speed.
Navigating the Camera Monitor Interface
The camera interface in Keep the Door Locked operates like a pared-down security desk, giving you access to multiple feeds that cover the hallway, the exterior, and the area directly outside your door. When you first open the monitor, you will see a grid of live feeds, but the default layout only shows two primary angles: the hallway view and the exterior view. The keep the door locked cctv system is deliberately simple, yet each control has a specific purpose that experienced players use to verify visitors before they ever reach the door.
Here is a breakdown of the core interface elements you need to know: the inventory bar, the lock interaction prompt, and the sanity meter. The inventory bar holds your limited tools, while the lock prompt is your primary defense—click it to secure the door. Keep an eye on the sanity meter, as it drains faster when you stare at the entity.
-
Feed switcher: Cycles between hallway, exterior, and door-adjacent cameras using the Q and E keys (or shoulder buttons on controller).
-
Zoom toggle: Right-click (or L2) to zoom into a specific feed, which helps you read body language and facial expressions.
-
Night vision switch: Press N (or Y on controller) to toggle infrared mode, which reveals figures that are otherwise invisible in standard lighting.
-
Static indicator: A small icon in the corner of each feed tells you when that camera is experiencing interference, which often signals an anomaly nearby.
The camera system is your first line of defense because it lets you verify the identity of visitors before you commit to opening the door. According to community reports, players who check the cameras for at least three seconds before answering a knock survive significantly longer than those who react immediately, since several anomalies only reveal themselves through camera-specific tells.
Camera Feed Priority
Not all feeds are equally important, and knowing which one to watch during different phases of the night can save your run. The hallway camera catches most visitors approaching, while the exterior camera covers the parking lot and street view, which matters when the game introduces outdoor threats later in the night.
| Feed | Best Used For | Key Tells | Risk Level |
|---|---|---|---|
| Hallway | Verifying approaching visitors | Face pressed to lens, unnatural walking speed | High |
| Exterior | Checking for figures lurking outside | Shadows without a source, figures only in night vision | Medium |
| Door-adjacent | Confirming identity before unlocking | Missing reflections, distorted audio | Critical |
| Lobby (if available) | Tracking visitors before they reach your floor | Multiple people entering, staff behavior | Low |
Most players keep the hallway feed as their default because it catches the majority of threats, but the door-adjacent camera is the one you want to check right before you answer any knock. That final confirmation can reveal details like a face pressed directly against the lens or a figure that appears only in infrared, which are reliable signals that you should keep the door locked.
Essential Camera Keybinds and Control Shortcuts
The Keep the Door Locked camera controls are easy to learn but take practice to use fluidly under pressure, especially when a knock comes at 3 AM and your heart rate spikes. The game supports both keyboard and controller input, and each scheme has advantages depending on your play style. Keyboard players generally prefer the precision of cycling through feeds with dedicated keys, while controller players appreciate the analog zoom that lets them scan a feed more naturally.
Here are the essential controls you need to memorize: WASD to move, Shift to sprint, and E to interact with doors or items. Since the monster reacts to sound, sprinting near a locked door can alert it, so walk when you’re close. Players often bind their mouse to quickly flick between doors, but mastering the crouch key is just as vital for hiding under beds.
-
Q / E or LB / RB: Cycle between available camera feeds.
-
Right-click or LT: Zoom into the selected feed for a closer look.
-
N or Y: Toggle night vision on and off.
-
Tab or View button: Open the full camera grid to see all feeds at once.
-
Mouse wheel or D-pad: Adjust zoom level incrementally.
The full camera grid is an underrated tool because it lets you spot anomalies across multiple feeds simultaneously, which matters when the game spawns threats that move between areas. However, the grid view has a downside: each feed is smaller, so subtle tells like a figure flickering in and out of existence become harder to notice. Community testing suggests that players who use the grid view for quick scans and then switch to a single feed for detailed verification survive more encounters than those who rely on one view exclusively.
Night Vision Toggle Timing and Mode Settings
Night vision is not just a cosmetic filter; it is a critical detection tool that reveals entities invisible to the standard camera feed. Some anomalies in Keep the Door Locked only appear in infrared, meaning you could stare directly at them in normal mode and see nothing at all. The night vision toggle is therefore one of the most important controls to master, because it effectively doubles the information available to you.
| Situation | Standard Mode | Night Vision Mode |
|---|---|---|
| Normal visitor | Visible, clear features | Visible, slightly washed out |
| Anomaly type A | Not visible | Visible as a glowing figure |
| Anomaly type B | Visible but distorted | Visible with clear facial features |
| Environmental clue | Sometimes visible | Always visible |
Players report that certain anomalies leave footprints or handprints that only appear in night vision, which means you should toggle infrared on every time you check the cameras, even during the early part of the night when threats seem absent. The trade-off is that night vision drains your camera battery faster, so you cannot keep it on permanently without risking a dead monitor at a critical moment.
Using CCTV Feeds for Maximum Coverage
The keep the door locked cctv system is your primary information source, but simply watching the feeds is not enough. You need a structured approach to camera checking that balances thoroughness with speed, because visitors will not wait forever and some anomalies punish you for taking too long to answer. Experienced players develop a routine that covers all feeds efficiently while leaving enough time to react to whatever they discover.
Here is a step-by-step routine that works well for most players: begin by locking the front door, then sweep the hallway for audio cues, and finally camp near the closet exit. This order minimizes blind spots during the early chase phase, and many veterans swear by it for surviving the first two minutes.
-
Step 1: When a knock comes, open the camera grid immediately and scan all feeds for obvious anomalies.
-
Step 2: Switch to the hallway camera and zoom in on the visitor, checking for facial distortions or unnatural movement.
-
Step 3: Toggle night vision and re-scan the same feed, since some tells only appear in infrared.
-
Step 4: Check the door-adjacent camera last, because this is the feed that reveals last-second details.
-
Step 5: Make your decision and either answer the door or keep it locked, then return to the cameras to track the visitor's behavior.
This routine takes about five to seven seconds once you practice it, which is well within the window most visitors give you before they become impatient. However, some anomalies deliberately mimic normal behavior to trick you, which is why the camera system alone is not always enough to guarantee safety. You should also listen for audio cues, since certain entities produce sounds that do not match their visual appearance.
Decoding Tells Visible Only on Camera
Camera-only tells are details that appear exclusively through the CCTV feed and never in direct observation, making them your most reliable way to identify anomalies. According to community data, these tells include faces pressed against the lens, missing evidence like a shadow that should exist but does not, and figures that appear only in night vision or infrared. Recognizing these patterns quickly is the core skill that separates players who survive the night from those who become statistics.
| Tell | What It Looks Like | Action |
|---|---|---|
| Face pressed to lens | Distorted facial features filling the frame | Keep the door locked |
| Missing evidence | A shadow or reflection that is absent | Verify with night vision |
| Infrared-only figure | A silhouette visible only in night vision | Do not open the door |
| Camera static | Feed becomes grainy or glitchy | Check other feeds immediately |
Static is particularly important because it often signals that an anomaly is nearby, even if you cannot see it yet. When you notice static on one feed, switch to the other cameras and look for the source, since the entity is usually within range of one of them. Players who ignore static often report being caught off guard by an anomaly that appeared suddenly after the interference cleared.
Camera Habits That Extend Your Survival Time
Once you have mastered the basic Keep the Door Locked camera controls, you can start using advanced strategies that leverage the camera system to predict threats before they arrive. These techniques go beyond simple verification and turn your CCTV into a proactive tool that gives you information about the entire floor, not just your immediate vicinity. The key is understanding how camera placement and timing interact with the game's threat generation system.
One effective strategy is to check the exterior camera at regular intervals even when no one is knocking, because some anomalies linger outside before approaching your door. Players report that checking the exterior every thirty seconds or so catches threats early, giving you more time to prepare. Additionally, the lobby camera (when available) can show visitors entering the building, which means you can track their progress toward your floor and anticipate their arrival.
Another advanced technique involves using the camera grid to track multiple threats simultaneously. When the game spawns two or more anomalies in the same night, they often approach from different directions, and the grid view lets you monitor both without switching feeds constantly. This is especially useful in the later part of the night when threat frequency increases, since you can spot both the hallway visitor and the exterior figure at the same time.
For players who want to go deeper into the system, our Keep the Door Locked camera system guide breaks down every feed and its unique behavior patterns, while the Keep the Door Locked camera tips guide covers advanced tricks that experienced players use to survive multiple nights in a row.
Managing Camera Battery and Resources
Your camera system runs on a battery that depletes as you use the monitor, and running out of power at the wrong moment can leave you blind exactly when you need information most. The camera battery lasts roughly ten minutes of continuous use, but toggling night vision drains it about twice as fast, so you need to budget your usage carefully. Players who keep the monitor open constantly often find themselves with a dead screen at 4 AM, which is the worst possible time to lose your eyes.
| Action | Battery Cost | Recommended Usage |
|---|---|---|
| Standard viewing | Low | Use for routine checks |
| Zoom | Low | Use for verification |
| Night vision | High | Use sparingly, only when needed |
| Full grid view | Medium | Use for quick scans |
A practical approach is to keep the monitor closed when no one is knocking and only open it for checks, which preserves battery for the moments that truly matter. When you do open the feed, avoid leaving night vision on continuously; toggle it on for a few seconds, scan for infrared-only figures, and toggle it off again. This habit extends your battery life significantly while still giving you the detection benefits of infrared.
Avoidable Camera Errors That Drain Your Night
Even experienced players make mistakes with the camera system, and understanding these common errors can help you avoid the same fate. The most frequent mistake is relying on the cameras too heavily and ignoring audio cues, which leads to being surprised by anomalies that the camera feed does not clearly show. Another common error is zooming in too aggressively, which narrows your field of view and can cause you to miss a tell that appears at the edge of the frame.
Here are the most common camera mistakes and how to fix them: panning too fast during a chase, which blurs your view of the hallway, and holding the camera too low, hiding the door’s lock indicator. To fix these, keep your mouse sensitivity steady and always center the camera on the doorframe before checking the peephole.
-
Skipping night vision checks: Many players only use standard mode, missing infrared-only anomalies entirely.
-
Staring at one feed: Fixating on the hallway camera causes you to miss threats approaching from other angles.
-
Ignoring static: Static is a warning sign, not a visual glitch to dismiss.
-
Keeping night vision on permanently: This drains the battery and leaves you blind later in the night.
-
Answering without checking the door-adjacent feed: This final check catches last-second tells that other feeds miss.
The most dangerous mistake is answering the door without verifying the visitor through the door-adjacent camera, because this feed reveals details that the hallway camera cannot show. Players who skip this step report being tricked by anomalies that appeared perfectly normal from a distance but revealed their true nature only when viewed up close. Always check this feed last, right before you make your decision, because it gives you the most current information about the visitor's appearance.
For players who want a deeper understanding of how the cameras work, the Keep the Door Locked cameras explained guide covers the technical details of each feed, while the Keep the Door Locked night vision tips guide focuses specifically on getting the most out of infrared mode.
Frequently Asked Questions
What are the default Keep the Door Locked camera controls?
The default camera controls are Q and E to cycle feeds, right-click to zoom, N for night vision, and Tab for the full grid. On controller, use LB/RB to cycle, LT to zoom, Y for night vision, and View for the grid. All bindings can be remapped in settings.
How do I spot anomalies using the keep the door locked cameras?
Look for camera-only tells like faces pressed against the lens, missing shadows or reflections, and figures that appear only in night vision. Static on a feed also signals that an anomaly is nearby. Check every feed in both standard and night vision mode before answering any knock, since some entities only reveal themselves in infrared.
Does night vision drain the camera battery faster?
Yes, night vision consumes roughly twice the battery of standard viewing, so leaving it on permanently will leave you with a dead monitor at the worst possible moment. Toggle it on for a few seconds to scan for infrared-only figures, then toggle it off again. This preserves battery while still giving you the detection benefits.
Can I remap the camera controls?
Yes, the settings menu allows you to remap all camera controls to different keys or controller buttons. Many players prefer moving the night vision toggle to a more accessible key, since it is used frequently during camera checks. Experiment with different layouts to find what feels most comfortable for your play style.
Why does the camera feed show static sometimes?
Static on a camera feed signals an anomaly is nearby, even if unseen. When interference appears, check other feeds to locate the source, as the entity is usually within range of one. Ignoring static often leads to being caught off guard once the feed clears.